ABOUT THIS BLOG

"A Faithful Attempt" is designed to showcase a variety of K-12 art lessons, the work of my art students, as well as other art-related topics. Projects shown are my take on other art teacher's lessons, lessons found in books or else designed by myself.
Thanks for visiting!
LAND ACKNOWLEDGEMENT I acknowledge, with deep respect, that I am gathered on Treaty 7 territory. I acknowledge the many First Nations, Métis and Inuit whose footsteps have marked these lands for generations. I recognize the land as an act of reconciliation and gratitude to those whose territory we reside on or are visiting.

Wednesday, December 18, 2013

"What Does the Fox Say?" Drawings


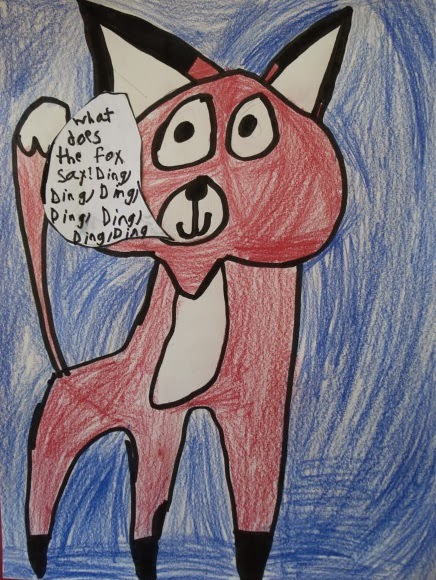
This was a fun 'extra' project perfect for the last week of school before the December holidays. It's based on the viral video/song "What Does the Fox Say?" by the hilarious Norwegian comedy duo Ylvis


The tune was so catchy and cute and the kids were singing it all the time -so I thought I could make a fun art project out of it. I chatted with the kids about what a fox does sound like (because honestly, who really knows?! I sure didn't! haha). Then we watched videos of actual fox sounds (there's alot of Yotube- wow- it's a really disturbing sound! haha)
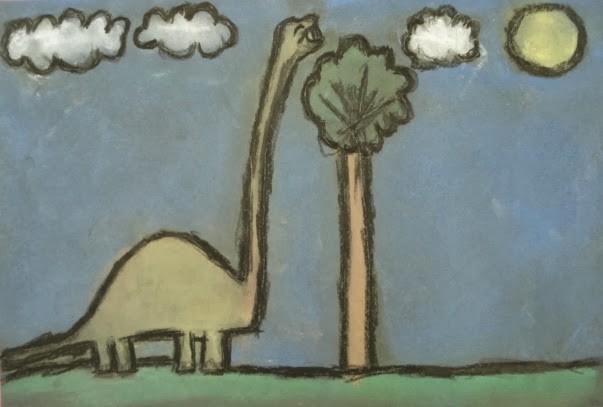
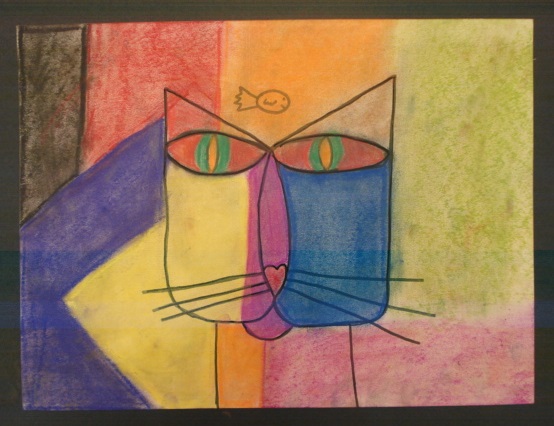
So I demo-ed how to do some simple fox drawings after discussing fox features (pointy nose, distinctive fur markings, fluffy tail, etc.) I realized it's actually quite tricky to draw a fox so it doesn't look like a cat or a weird cat/raccoon/dog hybrid ;)
Kids drew these in pencil, outlined with a black marker and then coloured (crayons, watercolours or coloured pencils all work well). Then they had to add a speech bubble of what they thought a 'fox says'. 
Warning- the song will be in your head ALL DAY if you do this project!! 


Saturday, November 30, 2013

Winter Styrofoam Prints


Styrofoam prints are always a sure-fire hit with kids. They're pretty easy to make as well; you just need to set up some effective printing stations.
For these prints created by Grade 2 students, they first drew a winter scene 
into a piece of styrofoam with a dull pencil.


Once the drawing was finished, using a foam brush, students painted over the styro with white acrylic paint. Place a piece of coloured paper on top (choose something darker for contrast) and rub firmly with a brayer, a rolling pin or simply your hand. Peel off carefully and students will be amazed!


Tuesday, November 19, 2013

Fall Trees


The last of the fall leaves are slowly falling off the trees. Kids drew these Fall trees in pencil first, 
then colored with oil pastels. Color mixing and blending was encouraged. 
I was inspired by these charming trees done my students at Cedar Creek Elementary.


Saturday, November 9, 2013

Chalk Pastel Dinosaurs

LOVE the cheeky grin on this guy

Any dinosaur project tends to be a big hit with elementary students. Grade 3 kids had a blast with this project and I was super thrilled with the variety of dinos the kids created.

I was inspired by the wonderful dinosuar project posted on 
one of my favourite blogs: Deep Space Sparkle
She did hers with Grade 1 students and they are all adorable.

So, to start, have kids research different dinosaurs (internet, books, posters, whatever you have) and have them choose one to re-create. They loved discussing all they knew about dinos and they really get into it! 
I demonstrated on the board how to draw a simplified dinosaur, to look at it's 
overall shape and pick out the main parts to draw. 
We ideally want these drawings to be bold and fairly simple. Sometimes kids at this age can get too caught up in tiny details and trying to get the drawing 'just right' then it's too small and detailed and tricky to colour with chalk pastels...

So the kids then draw their good copy on large black construction paper. I really model and encourage the kids to 'fill the space' - draw BIG!! If there's large areas of empty space leftover, kids can add a sun, clouds, stuff in the background, whatever they want.

Once drawn in pencil, pass over all the lines with a black wax crayon or black oil pastel.
Once outlined, kids colored them in using chalk pastels. Roll up sleeves- this media is M-E-S-S-Y.
Kids could color these however they wanted- fantasy-like or realistic- it was up to them.
I encourage blending to blend out the colours- fingers work fine but many kids prefer using a tissue.

Ta da!

love the eeevil sun...and scared look on the dinos face...


I believe this is supposed to be a Pterodactyl but it really reminds me of
the winged alien creatures from the movie "Pitch Black"  creeeeepy


Friday, November 1, 2013

Autumnal Fingerprint Trees


Grade 1 students learned how to draw a 'realistic' Autumn tree with falling leaves. 
This is a classic Art Teacher project and most kids can find success with this!
Students practised drawing a bare tree first in their sketchbook. I demonstrated on the board. I have students describe a bare tree and what they see. We talk about the difference between the thick, strong branches and the thinner twigs. We start with the trunk, then add some thick branches and then the thinner twigs last.

For the good copy, students worked on regular construction paper. They drew their grass line and tree first. Then, using oil pastels (you could also use wax crayons), students colored the grass and tree. Once everything was good and colored, I passed out plastic lids with a squirt of yellow, orange and red tempera paint. Students needed to choose one finger only (to minimize mess- which there still was a lot of!) and then they dipped their finger in the paint and created all the leaves. The kids had alot of fun with this!


Sunday, October 13, 2013

Autumn Owls


This is an adorable owl project perfect for Fall. Any elementary class will have fun creating these- 
in this case a Grade 3 class.

Show the class photos of owls. Maybe take some owl books from the library so kids can reference from them. On large white paper (construction paper or drawing paper with a slight 'tooth' works best for the chalk pastels later on), draw a simple line drawing of an owl.

Once the coloring if completed, to polish them up a bit, slowly (some kids really want to speed up at this point)  pass over all the pencil lines with a black oil pastel.

Once finished, you can leave as is, or glue onto black paper and cut around it, leaving a thin border.


Ta da!


Friday, October 4, 2013

Fall Scarecrows


Grade 1 students drew these adorable scarecrow faces. 
I used the wonderful scarecrow created by Kathy from "Art Projects for Kids" as my inspiration. 
Check out the link HERE. I felt it was perfect for this age group.

To begin, I talked about scarecrows with the kids. I asked them what they were, what they knew about them, what their purpose is, and what they are made out of, etc. 

As a starting point, each student received white paper a circle (head) drawn on it. This is so kids don't draw the head too small. I find at this young age (6) that tends to be a problem; having this simple starting point also helps the students who struggle with drawing. 
 
From there, students added a hat, the facial features (simple shapes) and the upper body. 
Students could add any additional details or a background.
They then outlined all their pencil lines with a black marker.

For colouring, we used chalk pastels. I did a quick demo and then the kids went at it. It was quite messy (chalk pastel tends to go over all their sleeves and front of shirts no matter how careful they are, so beware!!) Some chose to go somewhat realistically and others mixed colours together randomly. A lot of the girls added 'long hair'. haha!
They all asked while I was drawing my demo: "Can I make mine look like a girl?"
 
Ta da! 


Wednesday, July 17, 2013

Video: The Chalk Art of Peter Han

Such an inspiring video! Great to show students before a still-life or observational drawing lesson.

Via Colossal

Designer Peter Han (he rejects being called an artist) has worked as a conceptual designer for a number of different video games and films, but has also become known for a drawing class he teaches called Dynamic Sketching. Using only chalk, Han works with his students to let go of their preconceived notions about art and design by working in a fast, impermanent medium that always ends up being erased. The hope is to eventually free them from the idea of permanence and allow their ideas to grow through making mistakes.


Sunday, June 9, 2013

Krazy Kreatures


This is a fun and creative end of the year project. I call these "Krazy Kreatures"  :)

Kids start off by drawing just the upper body (no legs) of any type of crazy animal, person, 
alien, monster, etc. on cardstock (takes markers really well) or any type of thicker smooth white paper. 
The crazier the better. Draw in pencil first then colour with markers. Outline with a black marker 
once all the colouring is finished. Afterwards, carefully cut the creature out.


For the legs, we made paper spring legs. I think they're so fun and colourful. You can see my previous instructions for making them HERE or visit HERE for another set of instructions. 
I only had to show my students once how to make these and they got the hang of it right away.

I pre-cut strips of construction paper using the paper cutter. These were about 2.5 cm wide. 
You can make them thinner, but it just takes a bit longer to fold them. 
Students choose two colours per leg to work with. 


Once both legs are made, glue them on the bottom of your krazy kreature.
Grade 3 results- ta da!


This guys legs were made with thinner strips of paper resulting in a skinner and longer leg.
The strips were about 1.5 cm wide, I think.


Wednesday, May 8, 2013

Chalk Pastel Klee Cats


Grade 3 students made these charming chalk pastels cat drawings  inspired by 
the delightful Paul Klee painting "Cat and Bird" (Katze und Vogel)

Klee was a Swiss artist who had a wide range of styles throughout his career. One of his main influences, though, was children's art. He was fascinated by their art- the simple lines as well as their innate creativity. You can see this influence in "Cat and Bird" with it's simple lines and cat head composed of simple shapes. 
I love the cat's large, unwavering, hypnotic eyes.

Students first looked at the painting and I asked them why they thought a bird might be on top of this cat's head. I got a few different answers including, "The bird is just resting on his head eating small insects", I guess like a beneficial parasite- cleaning the cat! lol  

I prompted the 'suggestion' that maybe the cat was thinking/dreaming about the bird (eerm, to eat it?) Perhaps the artist wanted to show what was happening in the cat's mind. So the kids had to think of one 'thing' their cat would be thinking of and include that in their drawing.

Paul Klee, "Cat and Bird", 1928, oil & ink on canvas     Source
 Students started off by drawing a simple line drawing of the hat's head and what it was thinking of. 
I have to reeeaally encourage this age group to draw LARGE- fill the page!!


Then outline all the pencil lines with a dark marker, crayon or colored pencil.


Once the drawing is outlined, erase any stray pencil lines that are still showing (craftsmanship!!)
Now you're left with a lovely crisp, clean drawing.


Demo or review how to use chalk pastels. I emphasized soft blending using a finger or a paper towel, using the side of the pastel, mixing colours, and using the same 4-5 colours throughout the whole drawing 
in order to create harmony and unity.

chalk pastels

Grade 3 cats- ta da!


Related Posts Plugin for WordPress, Blogger...