
This is a re-posting of a holiday project my Gr.6 students did last December. I will be starting to post my holiday lessons now, as I know I have a tendency to start any themed projects way too late. I always forget how many days tend to be missed in December due to illnesses, various school events, students leaving early for extended holidays, etc.
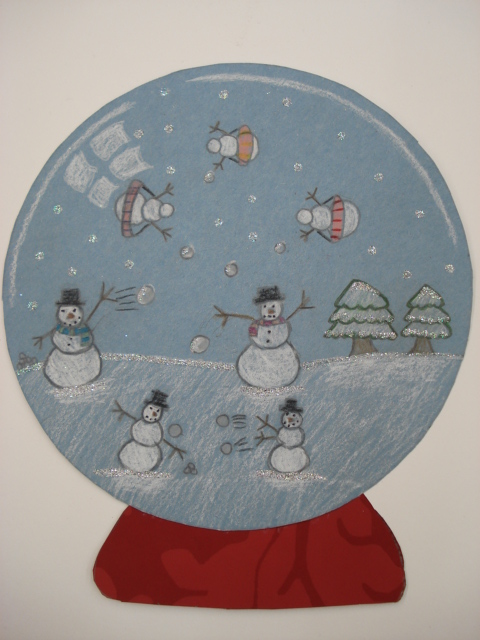
So students were asked to design a snow globe- they could draw any scene they liked; their 'ideal' snow globe world. These are made from construction paper, coloured pencils and glitter.
History of Snowglobes:
Snow globes are thought to date from France during the early 1800’s. In 1889, a snow globe containing a model of the newly built Eiffel Tower was produced to commemorate the International Exposition in Paris. Snow globes became popular in England during the Victorian era and, in the early 1920s, crossed the Atlantic to the North America where they became a popular collector’s item.
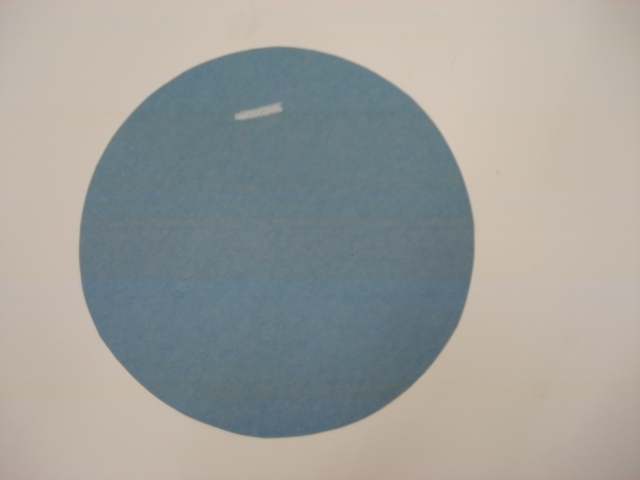
It's always helpful to have students first look at a real snowglobe. Then they can see the way the light hits the globe and use that for reference when they draw their highlights.
To make these, first cut a large circle out of light blue paper (we used plastic lids as tracers) and design a base from scraps of coloured paper. Use a gluestick to glue everything together.

Glue them together and then start drawing your snow globe scene. I had students imagine what their 'ideal' snow globe world would look like. They practiced first in their sketchbooks so they could plan out their ideas. Then begin drawing the good copy onto the blue paper in pencil first.

Pass over the pencil lines with fine tip black pens...


Then colour with coloured pencils; remind them to press hard, especially with the white and to try to add shading using a range of values. I showed the students how to add a curved highlight and/or reflection of a window at the top to help make the circle look 3-D; like a globe.
White glitter was added at the end for some holiday sparkle...
 |
| Fact: I am a glitter hoarder and proud of it. |
Here are the Gr. 6 results.
Some of the boys did pretty funny mini battle scenes within their globes ;)
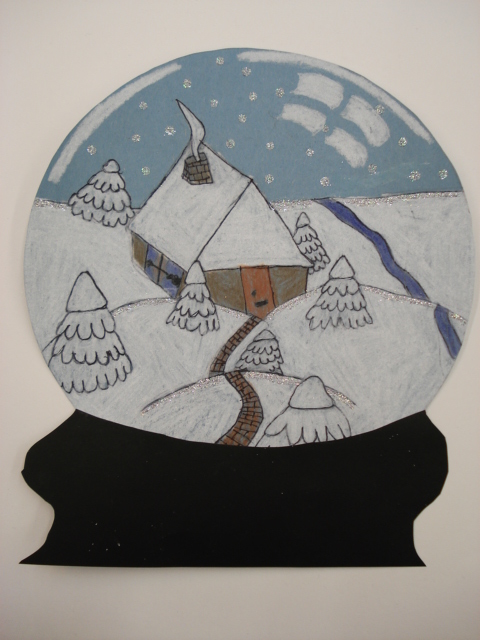
The rest of the class went with more traditional winter or Christmas-y scenes.
Ta da!


 |
| detail |


 |
| Gingerbread Man Battle Scene! |
 |
| Army dude taking a giant snowball to the abdomen |
 |
| detail: Gingerbread man with laser beam eyes... |


On display with the Grade 7 "Gingerbread House" project which you can see here.


